The Internet Saw One Play And Instantly Started Yelling “THAT’S A FOUL”
Oklahoma City took Game 5 and a 3-2 series lead, but the loudest moment of the Western Conference Finals was not a dunk, a dagger, or a buzzer-beater. It was the whistle that never came.

“Stop Him — That’s A Foul” sounds sarcastic because Spurs fans felt like Oklahoma City discovered a playoff cheat code: if the refs are not calling it, keep doing it.
The Thunder beat San Antonio 127-114 in Game 5 of the Western Conference Finals and moved within one win of the NBA Finals. But the game itself got swallowed by officiating controversy almost instantly after a sequence late in the third quarter exploded across basketball timelines. ([espn.com](https://www.espn.com/nba/recap?gameId=401873201&utm_source=chatgpt.com))
Luke Kornet’s floater touched the rim before Cason Wallace flew in for the block attempt, yet no goaltending was called. Seconds later, another possession appeared to go off Chet Holmgren before staying with OKC. Spurs interim coach Mitch Johnson tried to challenge, got denied because play had already continued, and took a technical during the chaos. ([cbssports.com](https://www.cbssports.com/nba/news/spurs-furious-over-missed-goaltending-call-vs-thunder-in-game-5-west-finals-loss/?utm_source=chatgpt.com))
Why The Phrase Hit So Fast Online
Good sports memes usually work because they sound like frustrated fans yelling at the television in real time. “Stop Him — That’s A Foul” landed immediately because it captured exactly how Spurs fans were reacting possession after possession.
Shai Gilgeous-Alexander finished with 17 free-throw attempts, and San Antonio fans spent most of the night arguing that Oklahoma City’s physicality was being rewarded differently. Stephon Castle later publicly criticized the officiating imbalance, saying the Thunder were allowed more contact than the Spurs. ([talksport.com](https://talksport.com/basketball/4287102/stephon-castle-refs-shai-gilgeous-alexander-flopping-spurs-thunder/?utm_source=chatgpt.com))
Once the no-call clips started circulating, the phrase stopped feeling like just a shirt slogan and started feeling like a running commentary track for the whole game.
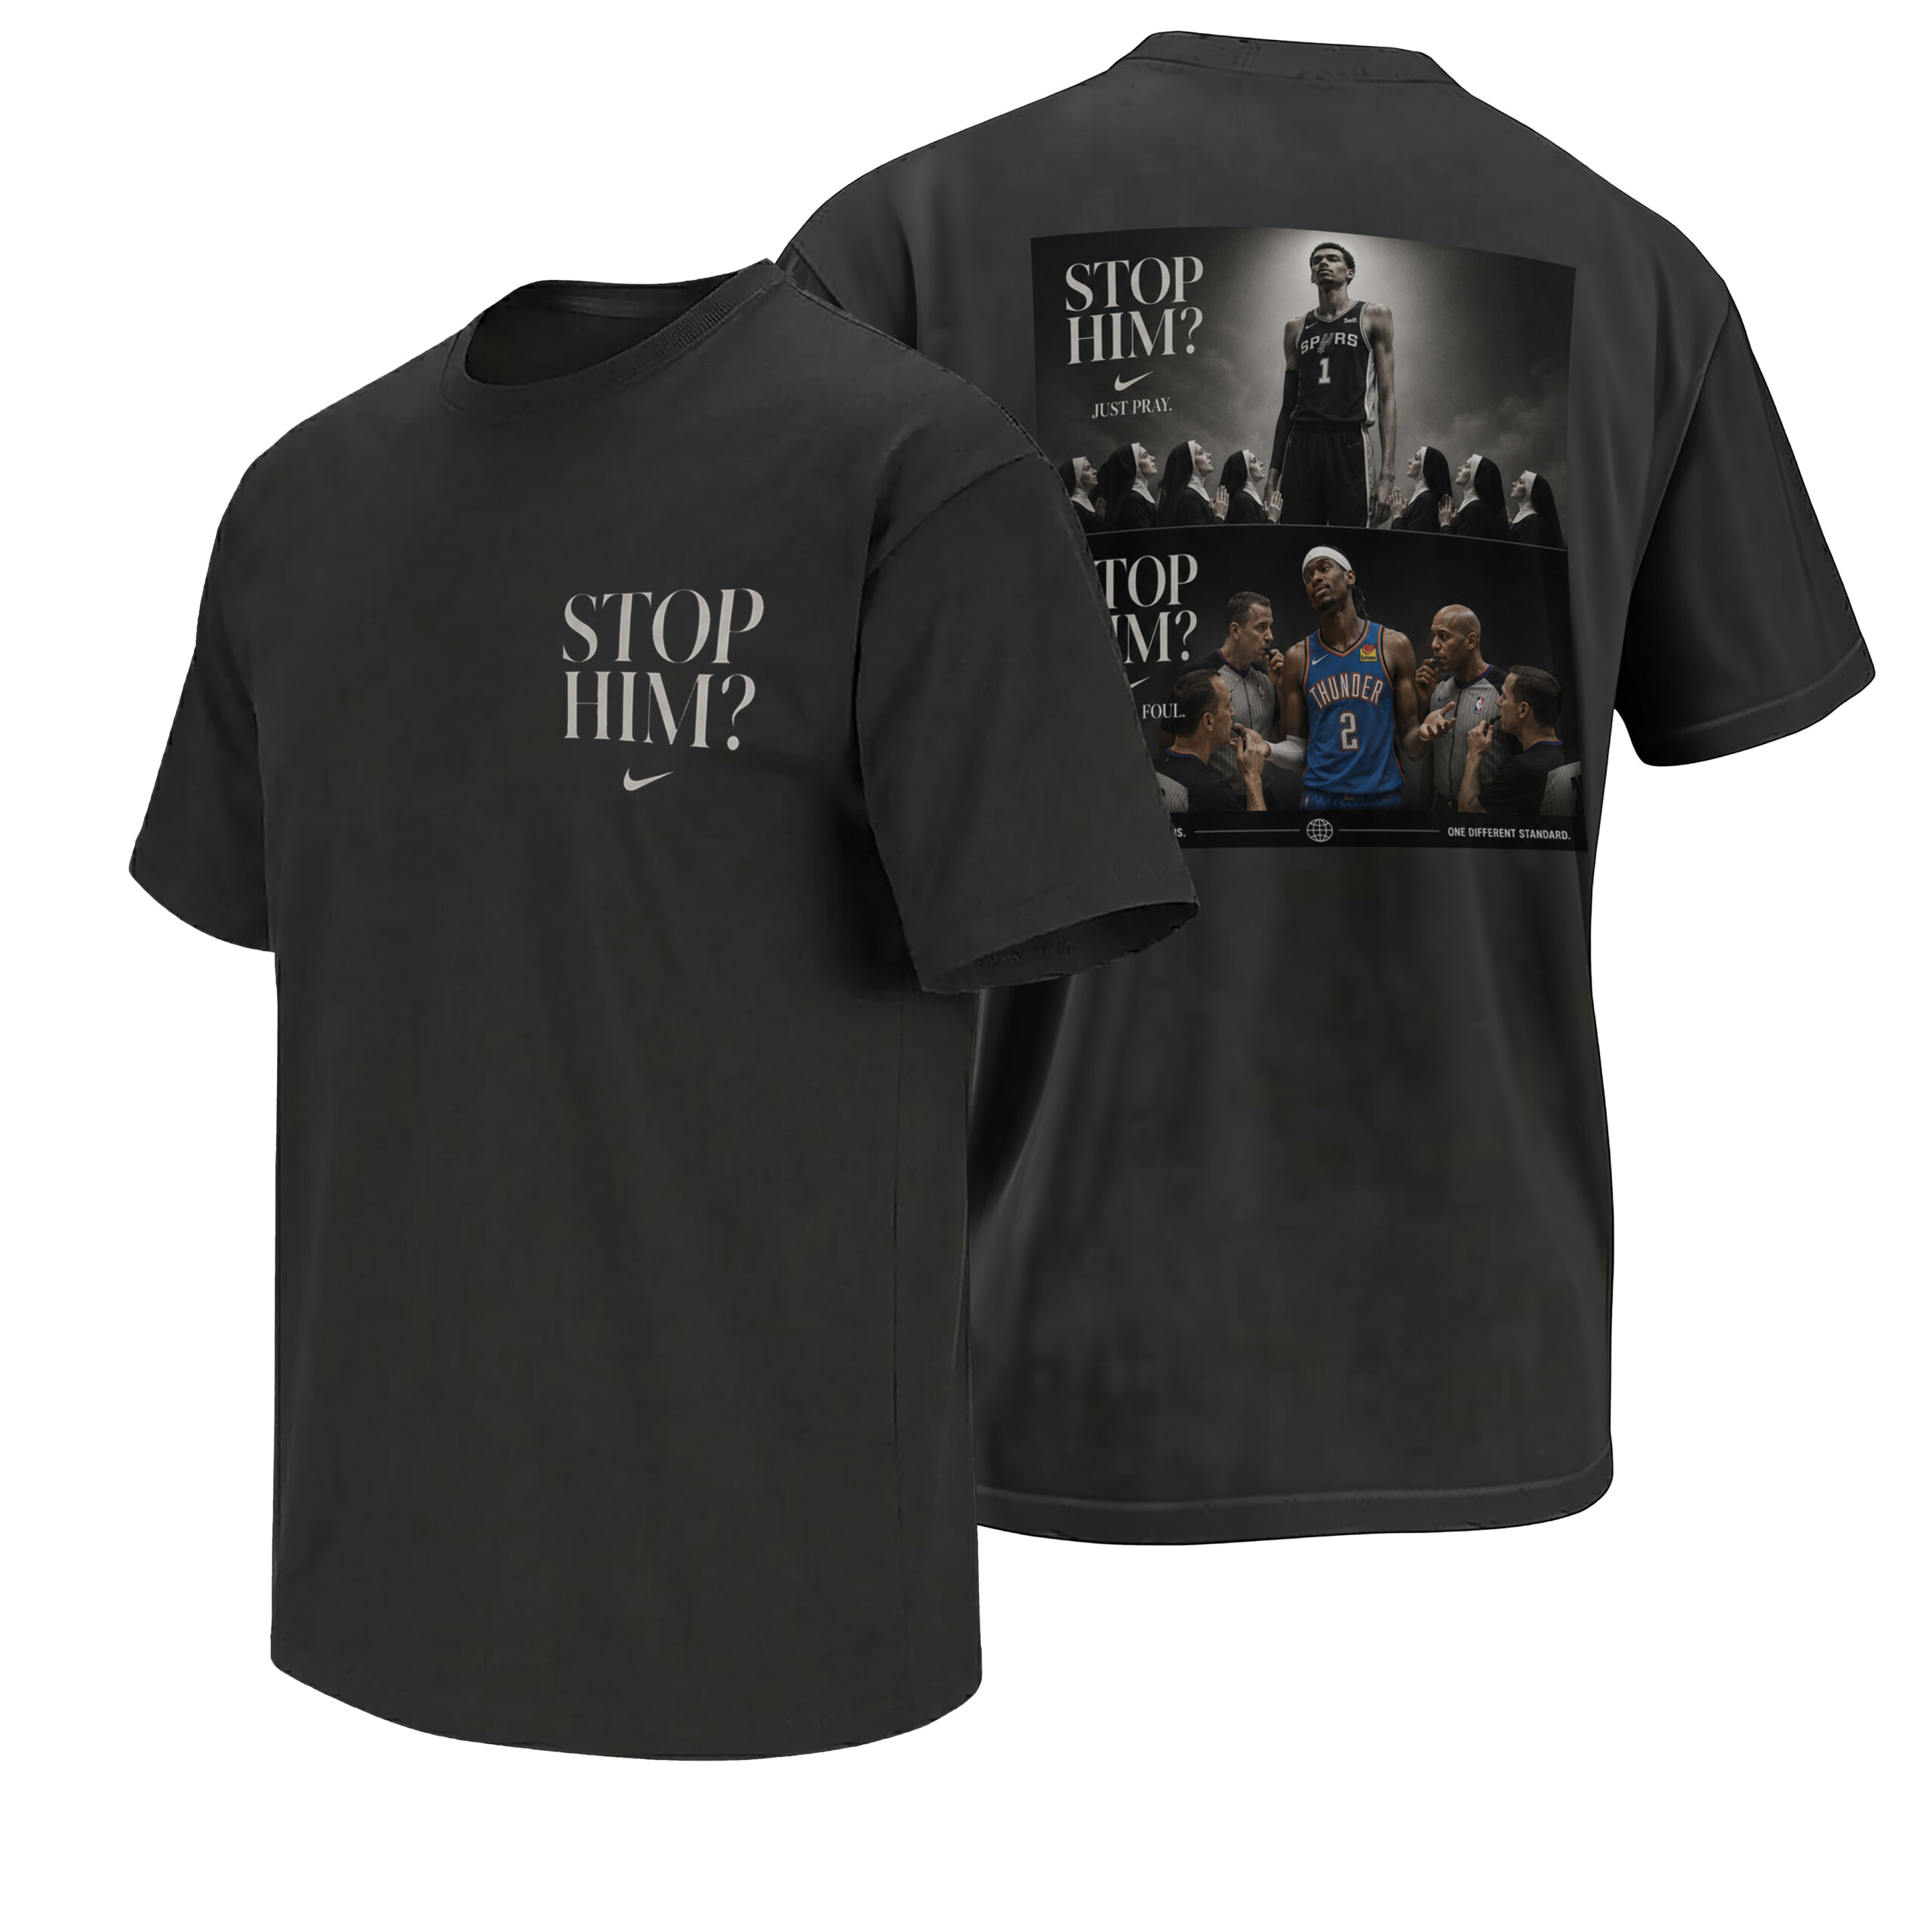
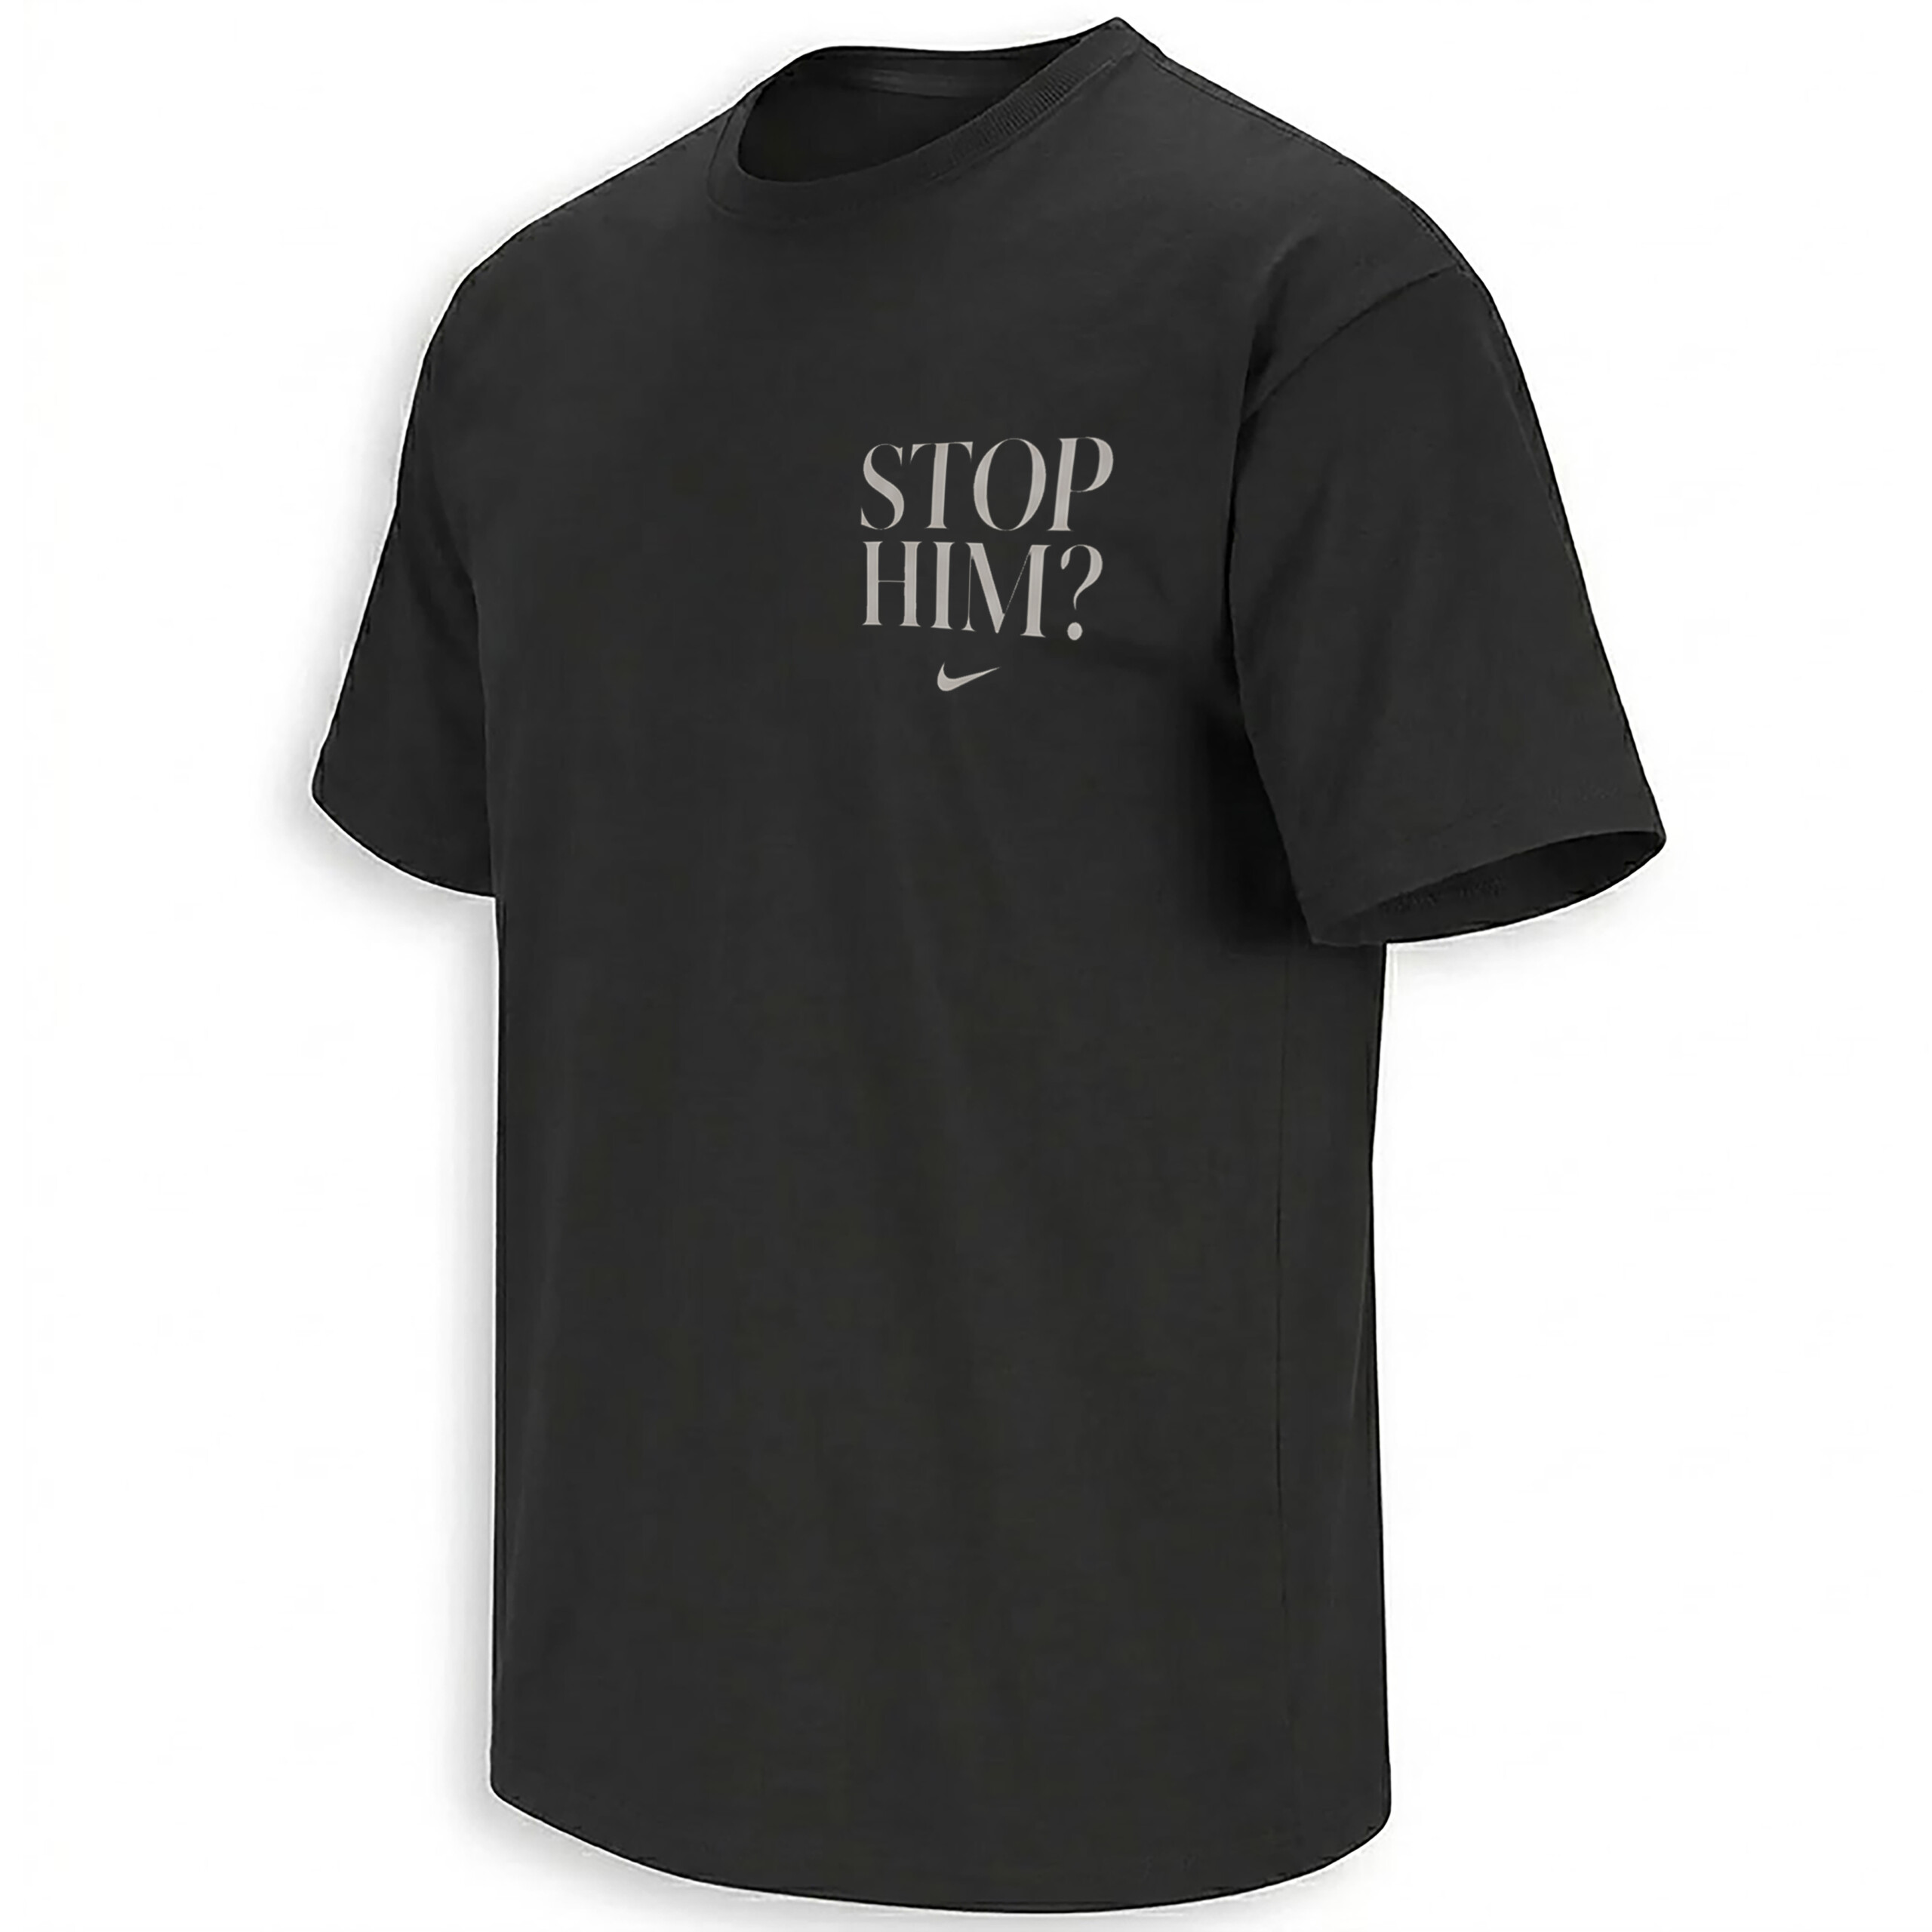
The Design Feels Like A Late-Night Fan Protest
The shirt works because it looks annoyed. Big aggressive text. Black-and-silver Spurs energy. Minimal distractions. It feels closer to a playoff protest sign than a polished championship graphic.
That tone matters because Spurs fans were not looking for optimism after Game 5. They were looking for validation. The design taps directly into that emotional lane: frustration, sarcasm, and the sense that San Antonio had to survive both OKC and the whistle.
Game 6 Is Going To Be Hostile
The series now heads back to San Antonio with the Spurs trailing 3-2 and elimination sitting directly in front of them. But after Game 5, the energy around the matchup changed completely. Fans are no longer talking only about rotations or adjustments. They are talking about officiating crews, replay clips, and whether the next whistle will tilt the series again.
That is why this design feels real-time. It belongs to the exact window after the game ended — when every Spurs group chat looked the same, every replay account posted the same clip, and everybody kept typing the same sentence in all caps.
FAQ
Why did Spurs fans get so angry during Game 5 against OKC?
Fans reacted strongly to several controversial officiating moments, especially a missed goaltending call involving Cason Wallace and Luke Kornet late in the third quarter.
Why does “Stop Him — That’s A Foul” fit the Game 5 mood?
The phrase captures the frustration Spurs fans felt watching Oklahoma City’s physical defense and the perception that San Antonio was not receiving the same whistle.
What inspired the design style?
The visual direction pulls from Spurs black-and-silver identity, protest-poster typography, playoff outrage culture, and the internet reaction immediately following the Game 5 controversy.
The Replay Ended. The Anger Didn’t.
Some playoff controversies disappear after the final buzzer. This one turned into a slogan before fans even left the timeline.
See The Design